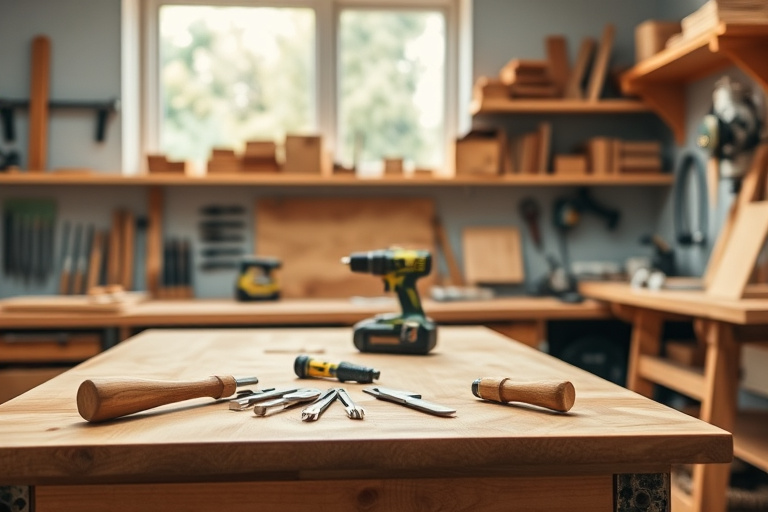
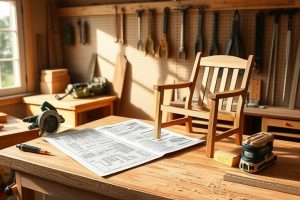
Tools you need for carpentry aren’t just a wish list; they’re the foundation of every successful project. Whether you’re assembling a simple shelf, building a custom bed frame, or crafting a outdoor chair, having the right set of tools saves time, reduces mistakes, and keeps you safe. In this guide, you’ll discover not only the essential categories of tools you need for carpentry but also practical tips for building a sturdy toolkit on a budget, integrating helpful resources, and diving into hands-on projects that help you apply what you learn.
Core tool categories for tools you need for carpentry
Hand tools and marking tools
The foundation of carpentry starts with reliable hand tools. A decent claw hammer, a good set of chisels, a couple of pairing knives, and a sharpSaw are indispensable. In addition, a quality combination square, a marking gauge, and an adjustable ruler help you lay out precise cuts and joints. These hand tools give you control for tasks like mortises, grooves, and fine fitting work where power tools would be too aggressive.
Power tools for efficiency
Power tools expand what you can achieve in a single session. A cordless drill/driver is almost universal for driving fasteners, while a circular saw handles straight cuts quickly. A miter saw is essential for precise angle cuts, especially when building frames, trim, and furniture components. For more complex profiles, a router opens up edge details and joinery. A compact sander speeds up surface preparation, leaving your projects ready for finish work. When selecting power tools, prioritize models with solid ergonomics, reliable dust collection, and a balance between power and control, so you’ll stay comfortable during longer sessions.
Measuring, layout, and joinery tools
Precise measurements are the difference between a loose fit and a flawless piece. A quality tape measure, a steel ruler, and a torpedo level are must-haves. For layout, a center finder, marking gauge, and a pencil with a good lead help transfer lines cleanly. For joinery, a set of chisels, a router table or handheld router, and a doweling jig or biscuit joiner can transform rough stock into tight, aesthetically pleasing joints. Investing in reliable measuring and marking tools pays dividends as soon as you start building projects with standard thicknesses and consistent gaps.
Clamps, vises, and workholding
Clamps are the unsung heroes of carpentry. A mix of quick-grip clamps, bar clamps, and pipe clamps gives you the versatility to hold boards during glue-up, as you route edges, or while you apply finishes. A sturdy bench vise or carpenter’s vise is invaluable for planing, sawing, and precise assembly. Without good clamps and workholding, even the best plans can crumble under movement or misalignment.
Safety gear and a well-organized workspace
Tools you need for carpentry must be paired with proper safety equipment. Safety glasses or a face shield, hearing protection, and a dust mask or respirator are essential. A clean, organized workspace reduces trip hazards and accidental tool misplacement. Consider a dedicated workbench or sturdy table, adequate lighting, and an accessible tool rack so your most frequently used items are within arm’s reach. An organized shop also simplifies maintenance, from sharpening blades to cleaning dust and rust.
Building a practical toolkit on a budget
Quality vs quantity: what to buy first
When you’re just starting out, it’s tempting to buy a little of everything. The smarter approach is to prioritize a core set of versatile, reliable tools that cover most basic projects. Start with a quality drill/driver, a circular saw, a good set of measuring and marking tools, a handful of clamps, and a trusty hammer. As you gain experience and tackle more complex projects, you can add specialty tools like a router, a plunge saw, or a dovetail jig. Remember: durability and ergonomics matter more than a long shopping list of inexpensive gadgets whose handles feel flimsy or whose blades dull quickly.
Budget-friendly picks and where to save
Saving on tools you need for carpentry doesn’t mean sacrificing safety or performance. Look for improved blade stability and comfortable grip in hand tools, and search for tools with reputable warranties or lifetime guarantees on critical components. Buying second-hand can work for some items, but inspect authority brands for signs of wear, misalignment, or damage before purchasing used power tools. Don’t overlook the value of a well-chosen set of blades, bits, and sanding papers; these consumables often impact finish quality more than the base tool itself. Finally, keep an eye out for bundle deals that combine a few essential tools at a discount, so you can build your toolkit thoughtfully without breaking the bank.
How a resource like Ted’s Woodworking can enhance your toolkit
As you grow more confident with the basics, having a structured plan library can accelerate progress and expand your project repertoire. Ted’s Woodworking is a comprehensive collection of blueprints and project ideas that many hobbyists find inspiring. Rather than scouring the internet for free plans that may vary in quality, a curated library offers consistent patterns, cut lists, material suggestions, and step-by-step guidance. While you’re upgrading your toolkit with the tools you need for carpentry, pairing your hardware with solid plans helps you optimize tool use, minimize waste, and finish projects with confidence. For instance, whether you’re building a bed frame, a nightstand, or a garden bench, having a reliable set of plans can reduce guesswork and keep your workflow steady.
If you’re exploring specific project ideas that match your growing toolkit, you might enjoy starting with plans that align with the kinds of projects you love. For example, a robust set of bed woodworking plans can complement a starter toolkit by illustrating joinery techniques, material choices, and finish considerations that force you to apply actual tool skills rather than simply assembling pre-cut pieces. And if you’re aiming to build durable outdoor seating, the easy Adirondack chair plans offer a practical, beginner-friendly path to a satisfying finished piece while allowing you to practice precise cutting, sanding, and finishing. easy Adirondack chair plans provide a clear example of how proper plans guide your use of the right tools you need for carpentry at every step.
For broader planning and to explore a wider range of projects, consider checking out bed woodworking plans to master the craft with pro-grade bed woodworking plans for durable beautiful sleep furniture. bed woodworking plans offer a structured path from design to completion, which can help you apply the tools you have in a meaningful, repeatable way.
Practical project ideas to apply your tools you need for carpentry
Quick home projects: bed woodworking and outdoor seating
With the right tools you need for carpentry, quick projects become powerful learning experiences. Start with a simple projects list that allows you to practice measurements, joinery, and finishing techniques. A bed frame project is a classic test of layout accuracy, screw placement, and glue-up discipline. It’s also a great opportunity to refine your dust control and clamping strategy. If you’re more interested in outdoor furniture, building a comfortable chair or a small bench can help you master weather-rated finishes, proper stock selection, and safe tool handling in an outdoor environment. When you combine sturdy tools with proven plans, your first projects become stepping stones toward bigger, more elaborate builds.
Project links: bed woodworking plans and easy Adirondack chair plans
To practice the stages of design, cutting, and assembly in a structured way, you can explore resources like bed woodworking plans and easy Adirondack chair plans. The bed woodworking plans page provides a structured blueprint approach that helps you understand material estimates, joinery, and finish sequencing. The Adirondack chair plans illustrate how to translate simple stock into a durable outdoor piece with comfortable details. These two projects are excellent for proving your toolkit’s capabilities while building confidence in your own carpentry process. For direct access, explore the bed woodworking plans page and the Adirondack chair plans page linked above.
Safe workflows: setup, maintenance, and safety tips
Effective carpentry is as much about workflow as it is about raw skill. Create a repeatable setup: keep the most-used tools within reach, and arrange cut lists and plans so you can follow a predictable sequence. Regular maintenance is essential: sharpen blades, lubricate moving parts, and clean dust from motors and air pathways to extend tool life and maintain performance. Safety should be built into every session. Always secure your workpiece, wear appropriate protection, and double-check measurements before making a cut. A calm, methodical routine reduces mistakes and protects you from common injuries that plague beginners who rush through a project to meet a deadline.
Conclusion: plan, practice, and grow your carpentry skills
Having the tools you need for carpentry is the first milestone in a rewarding craft journey. By understanding the core categories—hand tools, power tools, measuring and layout gear, clamps and workholding, and safety equipment—you can assemble a toolkit that grows with your ambitions. Pairing your hardware with reliable plans, like those found in Ted’s Woodworking, can streamline your workflow and transform your ideas into finished pieces you’ll be proud of. Start with a focused list of essential tools, invest in quality where it matters, and gradually expand your repertoire with targeted projects. As you gain experience, you’ll find yourself choosing projects that challenge you just enough to learn something new while still delivering satisfying results. Tools you need for carpentry aren’t just about getting the job done—they’re about building confidence, craftsmanship, and a lifelong love of making things with your own hands.


