Introduction
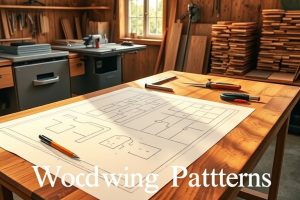
Whether you’re decorating a new apartment, upgrading a workshop, or simply enjoying the satisfaction of building something with your own hands, wood plans are your roadmap. The phrase wood plans refers to the carefully drafted drawings, cut lists, and assembly steps that translate raw lumber into sturdy, functional pieces. For beginners and seasoned woodworkers alike, having reliable wood plans reduces waste, speeds up projects, and improves the final result. In this guide, you’ll learn how to choose, read, and apply wood plans so you can tackle a wide range of projects with confidence.
As you explore wood plans, you’ll often hear about the broader ecosystem of project resources. For example, many builders benefit from curated libraries that compile patterns, material lists, and measured sketches in one place. If you’re looking to broaden your collection without reinventing the wheel, you may want to explore resources like Ted’s Woodworking, a popular affiliate option that bundles a wide array of woodworking plans and ideas. It’s important to evaluate any collection for quality, accuracy, and alignment with your goals.
What wood plans are and why they matter
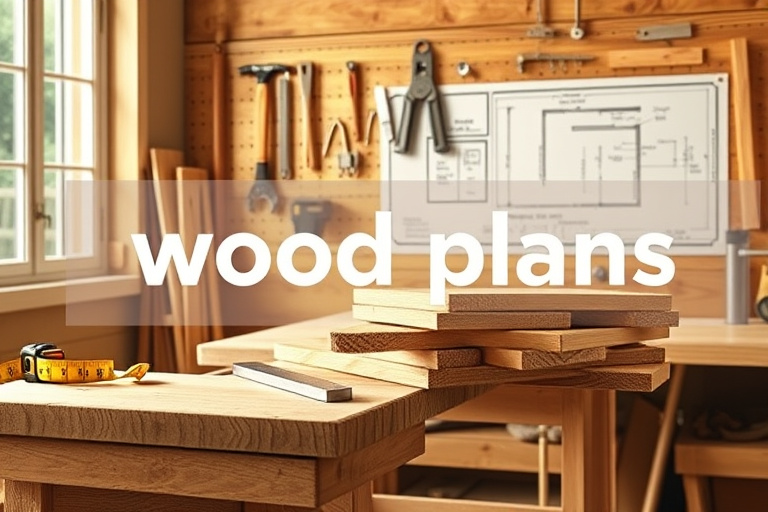
Wood plans are more than just a diagram or a shopping list. A solid set of wood plans typically includes a scaled drawing, a clear bill of materials, step-by-step instructions, measured cut lists, assembly sequences, and often notes on joinery, finishes, and hardware. When you have a reliable plan, you can:
- Estimate material costs accurately and minimize waste.
- Visualize the finished piece before cutting a single board.
- Plan tool usage and sequence to maximize efficiency.
- Improve safety by following proven steps and recommended clamps, supports, and joints.
Choosing high-quality wood plans helps you stay aligned with your budget, timeline, and space constraints. If you’re new to the hobby, seek beginner-friendly wood plans that provide clear tolerances and simple joinery. If you’re expanding into more ambitious builds, you’ll look for robust details on complex joints, hardware choices, and finish schedules.
How to choose the right wood plans
Selecting suitable wood plans starts with honesty about your skill level, tools, and space. Here are practical criteria to guide your choice:
Skill level and project goals
Identify your comfort zone and your target project. Are you building a basic bookshelf, a coffee table, a loft bed, or an outdoor bench? For beginners, look for plans labeled as beginner-friendly, with fewer pieces, simple mortise-and-tenon or pocket-hole joinery, and a forgiving cut list. For more advanced builders, seek plans that detail precise tolerances and advanced joints, or that offer modular variations so you can customize later.
Tools, materials, and workspace
Assess whether your shop has the essential equipment. If you’re working with a limited toolset, you’ll want plans that rely on a basic set—measuring tools, a saw, a drill, clamps, and a square. If your budget allows, you can plan projects around versatile tools that you already own, and adapt boards and finishes to your available inventory. Always check the plan’s suggested materials to ensure you can source them locally and within your budget.
Another practical consideration is the scope of your space. Some wood plans are designed for compact rooms or multi-function furniture, which is perfect for apartments or small workshops. In many cases, a plan for a space-saving piece, such as a wall-mounted desk, a fold-down workbench, or a loft bed with integrated storage, can dramatically improve how you use your square footage.
Reading and following wood plans effectively
Reading a wood plan is a skill that improves with practice. Start by scanning the entire plan to understand the workflow and the recommended sequence. Then break the project into manageable phases: prep, rough cut, dimensioning, joinery, assembly, and finish. The better you understand the plan, the fewer surprises you’ll encounter on the shop floor.
Key elements to look for in any wood plan include:
- Cut list: a precise inventory of all parts with exact quantities and dimensions.
- Exploded views or assembly diagrams: show how pieces fit together and which joints are used.
- Hardware and finish notes: screws, brackets, wood filler, sealants, and the finishing sequence.
- Notes on grain direction and blocking: helps with strength and aesthetics.
To build confidence, compare at least two plans for a similar project type and note how they address joinery, butt joints, or pocket-hole methods. If a plan’s details feel vague, seek a more detailed or updated version, or pair it with a reliable reference book. In practice, you may find that combining patterns from multiple wood plans can yield stronger designs and better finishes.
Expanding your toolkit with curated resources
While individual wood plans are essential, many builders benefit from curated libraries that provide breadth and consistency across projects. An organized resource can help you compare joinery techniques, finishes, and hardware choices, all while keeping your workflow efficient. If you’re curious about expanding your collection, a reputable option to explore is a comprehensive woodworking program that aggregates varied plans for different skill levels. This kind of resource helps you steadily grow your database of wood plans without losing time on trial-and-error experimentation.
For beginners and hobbyists seeking practical inspiration, you can also reference specific guidance on easy projects and budget-friendly upgrades: easy woodworking projects. This internal reference offers a practical path to start applying wood plans in real-world builds, while keeping your costs in check.
When you’re ready to tackle space-saving designs or to add a touch of organization to a small room, look into loft-bed concepts and other compact builds. A detailed article on space-saving wood plans can be found here: wood loft bed plans. These plans illustrate how wood plans translate into practical living spaces, combining form and function without sacrificing durability.
Project ideas by difficulty and purpose
Here’s a practical progression of projects that illustrate how wood plans scale with your experience and goals. Each example can be pursued with a clear set of wood plans, ensuring you stay on track from start to finish.
Beginner-friendly projects
Start with simple pieces that introduce you to measuring, cutting, and simple assembly. A sturdy end table, a small bookshelf, or a garden planter box can be excellent first projects. Look for plans that emphasize square cuts, straightforward joints, and forgiving finishes. As you gain confidence, you’ll naturally start to adapt dimensions and hardware to your space and taste. Remember, the key to success with wood plans at this stage is repetition: practice your cuts, check squareness, and refine your sanding technique.
Space-saving and multifunctional builds
If you’re working in a small apartment or a compact studio, space-saving wood plans can be a game changer. Think loft beds with built-in desks, wall-mounted shelves with integrated lighting, or folding workbenches. These designs maximize floor space while maintaining durability. Loft bed plans, for example, demonstrate how a single piece of furniture can resolve multiple needs in one footprint. To explore a robust collection of space-saving ideas, refer to the resource linked earlier, which highlights practical loft bed plans and related upgrades.
Outdoor and garden wood plans
Weather-resistant outdoor furniture, planters, and storage benches use different joinery and finishes compared with indoor pieces. Look for plans that specify exterior-grade hardware, moisture-resistant finishes, and appropriate gap tolerances to accommodate seasonal movement. Outdoor wood plans often benefit from choosing species with natural rot resistance, and from careful sealing and maintenance schedules to extend life.
Common mistakes and how to avoid them
Even the best wood plans can fail if you rush or skip steps. Here are frequent missteps and how to prevent them:
- Skipping a properLayout: Take time to layout the workpiece before cutting. Mark reference edges, verify grain orientation, and double-check measurements against the cut list.
- Rushing joinery: Joints are the heart of strength. Don’t force pieces together; allow for precise alignment and use clamps to maintain pressure while glue cures.
- Ignoring material quality: Differences in board width, warp, or moisture can ruin a plan. Acclimate stock to your shop and inspect for straightness and flatness before starting.
- Inadequate finish planning: Finish frequency and type should be aligned with the plan’s recommendations. Skipping the sanding and sealing steps can lead to a blotchy or uneven appearance.
By slowing down at critical steps and following the plan’s sequence, you’ll reduce waste and produce more durable pieces. If you’re ever unsure, revisit the plan’s notes or consult a trusted reference that explains the rationale behind the chosen joinery and cut sizes.
From plan to finish: a practical workflow
Turning wood plans into finished furniture or a useful accessory follows a repeatable workflow. Here’s a practical template you can apply to most projects:
Read through the entire document to understand the project’s scope and sequence. Prepare stock, hardware, finishes, and safety gear. Confirm the saw types, clamps, and sanders you’ll use. Rough-cut components to the largest dimension, then dimension to final sizes per the cut list. - Assemble and align: Dry-fit components to ensure alignment, then apply glue and clamps. Check for square and level.
- Sand and finish: Progress through grits, then apply stains, paints, or clear finishes as specified or desired.
- Quality check: Inspect joints, surface evenness, and hardware fit. Make any final adjustments before use.
Following this workflow helps maximize the value of wood plans and minimize backtracking. If you want a broader library to support your journey, consider curated wood plans collections that can accelerate this process, especially when you’re learning. Look for resources that provide variations on common patterns so you can adapt plans to your evolving goals.
Additional resources and internal references
In addition to your core plans, you can explore related topics and build ideas on dedicated guides. For instance, if you’re seeking practical, beginner-friendly builds and budget-friendly upgrades, check this resource: easy woodworking projects. It outlines approachable projects and cost-conscious improvements that pair well with the discipline of wood plans.
For space-conscious design, you may find loft bed plan ideas particularly valuable. A comprehensive article on space-saving sleep solutions is available here: wood loft bed plans. This reference showcases how thoughtful wood plans translate into compact, functional furniture that keeps rooms livable and stylish.
Conclusion
Wood plans are more than a starting point; they are a framework for reliable, repeatable, and satisfying woodworking. By selecting appropriate plans for your skill level, understanding how to read them, and using a practical workflow, you’ll transform raw boards into durable, attractive pieces that enhance your living or work space. As you grow more comfortable with plans, you may want to explore broader libraries of patterns and joinery techniques. If you’re curious about expanding your plan collection with curated options, consider exploring resources like Ted’s Woodworking, which aggregates a diverse set of wood plans and project ideas to inspire your next build. Always ensure the plan aligns with your space, budget, and safety practices. Your next project awaits—start with clear wood plans and watch your woodworking confidence rise.