Introduction
Every woodworker, from curious beginners to seasoned hobbyists, starts with a clear foundation. The phrase basic tools for wood working isn’t just a shopping list — it’s a mindset: you learn to work with what you have, cultivate precision, and gradually expand your toolkit as your projects demand. In this article, you’ll discover not only which tools truly belong in a starter set, but how to use them effectively to build confidence, produce clean results, and stay safe in your workshop.
Why basic tools for wood working matter
The right basics empower you to measure accurately, cut cleanly, and join pieces with predictability. When you start with basic tools for wood working, you learn fundamental techniques that transfer to nearly any project, from a simple cutting board to a small cabinet. A well-chosen starter kit reduces wasted material, speeds up decision-making, and fuels beginner momentum. Over time, these tools teach you which specialized tools add value for the specific kinds of projects you love.
As you grow, you’ll want reliable guidance that helps you plan projects, estimate material needs, and follow safe practices. Reading and practicing with structured plans can massively accelerate learning. For instance, you can explore curated project plans that align with Ted’s Woodworking and provide step-by-step instructions, project photos, and included cut lists. The ultimate guide to mastering projects with Ted’s Woodworking offers a comprehensive overview of how to approach projects from start to finish, which complements your tool setup.
Core categories of tools you should know
Think of your starter toolbox as organized into categories that cover measurement, cutting, shaping, fastening, and safety. Each category contains a few dependable tools rather than a long shopping list. This approach keeps your learning curve manageable while you begin to tackle real projects.
Measuring and marking tools
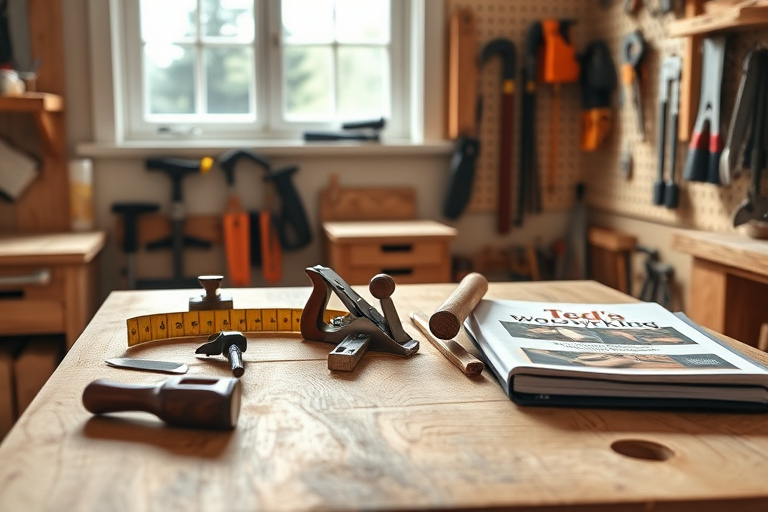
- Measuring tape (at least 16 ft for flexibility)
- Combination square or try square for accuracy on faces and edges
- Marking gauge and marking knife for precise lines
- Pencil or marking chalk for quick visibility on wood
Correct measurements are the backbone of good joinery. A simple, well-laid-out plan reduces mistakes and material waste. If you’re curious about how plans and tool sets intersect, you can explore a companion guide that dives into building with Ted’s Woodworking projects.
For more about project plans and how to pair them with your toolkit, check out the complete woodworking tool set: the ultimate guide to building projects with Ted’s Woodworking to see how these tools appear in real projects.
Cutting tools
- Handsaw or back saw for precise, controlled cuts
- Crosscut and rip saw blades for versatility
- Chisels (various widths) for mortises and adjustments
- A small handsaw or a Japanese pull saw for fine work
Cutting tools form the interface between your plan and the finished piece. Start with one good handsaw and upgrade gradually as you take on more complex cuts. In Ted’s woodworking ecosystem, you’ll find a wide array of project types that illustrate how well-chosen cutting tools perform in real builds — a practical example of why investing in quality basics pays off over time.
Shaping and smoothing tools
- Chisels (matching your saws for smooth joinery)
- Planes (block or jack plane for flattening and trimming)
- Rasps and files for removing material and refining curves
- Sandpaper in grits from rough to fine for a silky finish
Shaping and smoothing are where craftsmanship shows. A well-tuned plane, paired with sharp chisels, makes joints crisp and surfaces ready for finishing. You’ll learn through hands-on practice that patience with material removal yields superior results, and you’ll be better prepared for more ambitious projects as your skills mature.
Fastening and joining tools
- Hammer and/or mallet for assembly and tapping joints
- Screwdrivers and driver bits for durable fastenings
- Clamps (bar clamps or quick-release) to hold parts securely
- Squares and marking tools to ensure right angles and alignment
Joinery is as much about the method as the tool. Clamps keep glue-ups flat and accurate, while a confident hammer tap helps pieces seat properly without damage. As you expand your collection, you’ll discover which joinery techniques you prefer for different projects, and Ted’s Woodworking resources can help illustrate practical examples of these methods within real designs.
Safety gear
- Safety glasses or goggles to protect your eyes
- Dust mask or respirator for fine particles
- Ear protection when using loud power tools
- Push sticks and a sturdy workshop layout to minimize accidents
Safety is non-negotiable. It’s tempting to rush a project, but keeping your eyes on protective gear, proper storage, and clean work surfaces prevents injuries and costly mistakes. Start with a simple router of routine safety habits and expand your toolkit as you gain confidence.
How to choose and organize your tools
Building a practical toolkit is about prioritizing quality over quantity. Start with a focused set of foundational tools that cover measuring, cutting, shaping, fastening, and safety. As you complete projects, you’ll notice gaps — perhaps you’ll want a dedicated router, a smoothing plane, or more clamps for larger assemblies. Keep a running list and allocate budget in stages.
Organization is the second pillar of success. A dedicated tool cabinet or wall-mounted pegboard helps you maintain an efficient workflow. Label drawers and keep commonly used items within arm’s reach. When you organize by category, you reduce decision fatigue and keep your shop from becoming overwhelming.
For learners who want a deeper, project-oriented perspective, Ted’s Woodworking provides a broad library of plans and ideas that illustrate how to apply these basics in a variety of contexts. This can be a helpful companion resource as you decide which tools to prioritize next. You can explore additional context and guidance through a detailed Ted’s Woodworking overview linked above.
Integrating Ted’s Woodworking as a learning resource
Ted’s Woodworking is a well-known resource that offers a vast collection of project plans, step-by-step instructions, and visuals. While you don’t need it to start with the basics, it can accelerate your growth by showing you how pros plan, cut, join, and finish projects using a consistent workflow. The material isn’t just about big builds; it’s about understanding how the basics scale to complex projects and how a well-organized toolset supports this growth.
If you’d like to see how comprehensive plan libraries integrate with a starter toolkit, you can read about the ultimate guide to mastering projects with Ted’s Woodworking here: the ultimate guide to mastering projects with Ted’s Woodworking. This resource helps you map project goals to the tools you own, ensuring your basic investments pay off with real, actionable outcomes.
For a broader look at how a curated tool set can support project work, explore the complete woodworking tool set: the ultimate guide to building projects with Ted’s Woodworking. The combination of plans and practical tool knowledge can help you choose the right tool at the right time, avoiding buyer’s remorse and wasted space in your shop.
If you decide to move forward with Ted’s Woodworking, you’ll often see an offer that aligns with ongoing learning and project exploration. You can access the official offer here: Ted’s Woodworking – exclusive offer.
Practical project ideas that use basic tools
A practical way to cement the value of basic tools for wood working is to select projects that incrementally increase in complexity while staying within the toolkit you’ve built. Start with small, useful items that reinforce measuring accuracy, clean cuts, and durable joinery. As your confidence grows, move into projects that require more precise plan execution and a broader range of technique.
Beginner project ideas
- A simple wall shelf with a hidden or decorative nail corner
- A basic cutting board with a clean, squared edge
- A small jewelry box with a simple dado joint
These projects emphasize accuracy and finish rather than complexity. They’re perfect for practicing measurement discipline, marking accuracy, and surface prep. Use the opportunity to refine your clamping setup, test different finishes, and observe how each tool behaves with common woods.
Intermediate project ideas
- A garden bench with mortise-and-tenon joints
- A shallow display cabinet with glass panels and a back panel
- A small cabinet with a recessed handle and butt joints
Intermediate projects push your joinery skills and material handling. They also encourage you to think about grain direction, surface prep, and finishing layers. As you tackle these builds, you’ll naturally start to appreciate how a well-chosen set of basic tools keeps your workflow efficient and enjoyable.
Maintenance, storage, and shop setup
A durable workshop relies on proactive maintenance. Keep blades sharp, adjust planes properly, and routinely check clamps for grip. Store tools in a way that aligns with your workflow: keep marking tools together, cutting tools in a dry case or cabinet, and smoothing tools within easy reach near your main work area. A tidy shop isn’t about aesthetics alone; it reduces miscuts and fatigue, making each project safer and more enjoyable.
Regular maintenance also means your tools will last longer, which is smart budgeting for hobbyists. If you’re ever unsure about whether a tool is right for a given task, revisit the basics and test on scrap wood before applying a new tool to your project. Tech-backed guidance and project libraries, like those associated with Ted’s Woodworking, can provide reliable references for when it’s time to upgrade or expand.
Conclusion and next steps
Building competence with basic tools for wood working is a journey. Start with the essentials, focus on technique, and let your projects guide your learning. As you complete more pieces and refine your workflow, you’ll naturally identify the specialized tools that bring your visions to life. Remember that quality basics save you time, material, and frustration in the long run. If you’re ready to broaden your project horizons and explore guided plans, you can explore Ted’s Woodworking resources that complement your toolkit and help you grow methodically. The right combination of solid tools, practical projects, and reliable plans can transform your hobby into a fulfilling craft.