If you’re exploring simple woodworking projects, you’re stepping into a world where small, achievable builds can teach you fundamentals without overwhelming you. This approach helps you practice layout, measuring, cutting, joining, and finishing—skills that form the backbone of more ambitious projects later on. The goal isn’t to rush to a fancy result, but to enjoy steady progress and develop confidence with each completed piece.
What exactly qualifies as a simple woodworking project? In essence, it’s a project with a brief time frame, a straightforward cut list, minimal or forgiving joinery, and a finish that you can achieve with common tools and materials. When you start with these kinds of builds, you create a reliable learning loop: plan, execute, evaluate, and adjust. That loop is powerful because it translates to all future projects, whether you’re crafting a cozy bedside shelf or building a garden bench.
For many hobbyists, the journey begins with a clear plan and the right setup. If you want a deeper dive into the tools that make these projects smoother, check the Tool list for woodworking shop guide. It covers essential tools, shop layouts, and practical tips to keep your space efficient. And if a seating project is on your list, the Wood chair blueprint resource is a helpful reference for understanding seat supports, comfort, and proportions.
As you build confidence, you may want to explore a broader library of projects. One option popular with beginners and seasoned hobbyists alike is Ted’s Woodworking, a comprehensive collection of patterns and plans. If you’re curious about expanding your repertoire, you can explore it here: Ted’s Woodworking.
Why starting with simple projects pays off
Simple projects teach core techniques without the emotional weight of a long, complex build. You’ll learn how to read a cut list, mark and measure accurately, and test-fit parts before final assembly. Those skills pay off in every project you tackle thereafter, reducing waste and frustration. When you experience small wins—like a perfectly square corner or a clean, flush joint—you’ll be more motivated to try new techniques, such as dado cuts, mortise and tenon joins, or decorative finishes.
In terms of outcomes, simple woodworking projects aren’t just practical; they’re also highly satisfying. A handmade planter box or a floating shelf can transform a room, while offering a tangible reminder that skill, patience, and planning produce real results. And because these projects are approachable, you’re more likely to finish them, share them with friends or family, and build a positive feedback loop that fuels your ongoing progress.
Choosing the right projects
To select the right simple woodworking projects, consider three factors: space, time, and tools. If you’re short on space, small projects like a planter box or a wall-mounted shelf fit nicely on a compact work surface. If you have limited time, choose plans with a short build cycle and forgiving joints. And if your tool cabinet is still growing, prioritize projects that rely on a few basic tools rather than a long parade of specialized equipment.
When evaluating a potential project, start with a rough plan: what will it be used for, what kind of wood suits the look you want, and what finish will hold up to its environment. You’ll also want to examine the cut list to confirm you have the necessary pieces and to estimate waste. If you’d like a broad view of essential tools and setups, the Tool list for woodworking shop guide is a good starting point, especially if you’re building your first dedicated space for woodworking.
As you start collecting projects, you’ll notice patterns. Most beginner tasks involve basic rip and crosscuts, simple joinery such as butt joints or pocket-hole screws, and a finish that protects the wood while highlighting its grain. These techniques form the foundations of simple woodworking projects and can be adapted for everything from a small plant stand to a bookshelf height stand.
Top project ideas for beginners
Here are four approachable projects that embody the spirit of simple woodworking projects. Each one builds a different skill set while delivering a tangible, useful result.
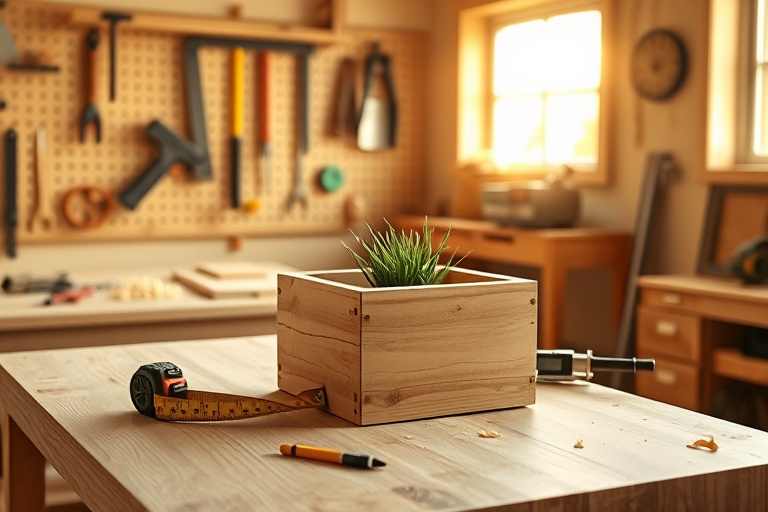
1. Planter box
A planter box is a classic starter project. It teaches basic measurements, panel assembly, and basic finishing. Start with straight boards, use simple butt joints or corner brackets, and finish with a weather-resistant sealant. A planter box can be tailored to your space and can scale up to hold a row of herbs or a single dramatic specimen. For a deeper dive into the tools and steps involved, see the practical resources linked above.
2. Simple floating shelf
A floating shelf is a great way to practice precise measuring and mounting techniques. Use a cleat system to anchor the shelf to the wall, which helps you focus on accuracy rather than complicated joinery. You’ll learn how to square up a cabinet of edges, hide mount points, and apply a smooth finish that complements existing décor. The timing is perfect for a weekend project that yields a visible, functional improvement in your living space.
3. Rustic stool or tray
A small stool or a decorative tray is ideal for practicing cutting, sanding, and finishing techniques. A simple stool can incorporate a square seat, through-masten legs, and a straightforward join. A tray engages you with different surface treatments, such as staining and sealing, and offers a satisfying sense of accomplishment when you complete it with clean edges and balanced weight.
4. Birdhouse or feeder
A birdhouse or feeder is not only a nice project but also a chance to work with thinner stock and more confident drilling. This kind of project teaches you to manage safe cutting with smaller pieces, protect wildlife-friendly finishes, and create a durable design that can withstand weather. It’s a rewarding way to bring a little nature into your home workshop or garden.
Step-by-step guide: a beginner-friendly planter box
Here’s a detailed, beginner-friendly plan that illustrates how a simple woodworking project can come together—from planning to final finish. Use this as a template for your own variations or as a template to adapt other projects in your repertoire.
Planning and materials
First, decide the dimensions. A common planter box might be 24 inches wide, 12 inches deep, and 12 inches tall. Choose a durable but easy-to-cut wood like pine or poplar for practice projects, and plan to use a weather-resistant finish if it will live outdoors. Gather the materials: wood boards for the sides and ends, a bottom panel, wood screws or nails, wood glue, sandpaper, and a finish such as outdoor varnish or mineral oil. You’ll also need basic shop supplies: a tape measure, square, clamps, a saw, and a drill or driver. If you’d like a comprehensive breakdown of tools, check the tool list for guidance.
Cutting and assembly
Begin by cutting four boards for the sides—two longer and two shorter—to form a rectangular box. Cut a bottom panel that will sit inside or attach to the bottom, depending on your design. Sand the edges for smooth joins and fit the pieces together with wood glue and screws or nails. If you’re new to joinery, butt joints with simple screw reinforcements are perfectly acceptable. Use clamps to hold parts square while the glue dries. Ensure the bottom is snug but not tight, allowing for drainage if the planter is placed outdoors.
Once assembled, sand the entire box first with medium-grit, then finish with fine-grit for a smooth surface. Apply a weather-resistant finish to protect the wood from moisture. If the planter will sit indoors, a simple clear finish will highlight the natural grain while preserving a clean look. For further inspiration and guidance on the right tools, consult the tool list page linked earlier.
Finishing touches
Finish with two coats of your chosen sealant, lightly sanding between coats. Add drainage holes if the planter is intended for soil and plants. Consider a decorative touch such as a painted rim or a contrasting interior to create a pleasing aesthetic. A well-finished planter not only lasts longer but also becomes a source of pride that motivates you to tackle the next simple woodworking projects you have planned.
Tools and workspace essentials
To keep your projects moving smoothly, you don’t need a professionally outfitted shop from day one. Start with a few versatile tools and a safe, organized workspace. A good chop saw or miter box helps with accurate crosscuts, while a drill or driver speeds up assembly. A square, a tape measure, and clamps are essential. Sandpaper or a small random-orbit sander will help you achieve a trace-free finish. As you gain experience, you can expand your collection, but remember that the best tool is the one you actually use consistently.
Safety should be your top priority. Use eye protection, hearing protection for loud operations, and a dust mask when sanding. Secure your workpiece, keep your workspace clean, and always plan your cuts to minimize waste. If you’re seeking a structured toolkit and space layout that supports ongoing projects, revisit the tool list for practical, up-to-date recommendations.
For those who want a deeper dive into craft-specific plans—such as the precise dimensions and seating geometry involved in chairs—refer to the wood chair blueprint guide. It covers fundamentals that translate well to other simple projects, like precise measuring, cutting accuracy, and comfortable ergonomics.
Learning resources and how to expand your library
As you start collecting projects, you’ll quickly discover that a curated library of patterns and plans can accelerate your progress. Ted’s Woodworking is a widely referenced resource that offers a large collection of patterns and ideas designed to inspire and challenge builders at various levels. If you’re ready to broaden your scope, you can explore this program through the affiliate link presented earlier. Remember, the key isn’t to copy plans exactly but to learn shapes, joinery, and finishing approaches that you can adapt to your own simple woodworking projects.
In addition to paid resources, you can leverage free guides and community forums to exchange ideas and troubleshoot tricky steps. The two internal resources above are excellent starting points for anyone who wants to improve tool knowledge and project planning without getting overwhelmed. They align well with the mindset of steady, incremental growth that characterizes successful woodworking beginners.
Conclusion
Starting with simple woodworking projects is one of the most effective ways to build skill, confidence, and a sense of accomplishment. By choosing beginner-friendly projects, planning carefully, and using the right tools and finishes, you’ll create tangible results that keep you motivated to learn and grow. Whether you’re building a planter box for your porch, a floating shelf for the living room, or a birdhouse for the garden, each project adds to your toolkit of practical skills and design instincts.
If you’re looking to expand your knowledge and project variety, consider exploring a broader library of patterns and ideas through Ted’s Woodworking. It can be a valuable companion as you move from simple woodworking projects to more ambitious builds. And as you continue, don’t forget to reference the practical tool lists and chair-building guides linked above to support your ongoing journey.